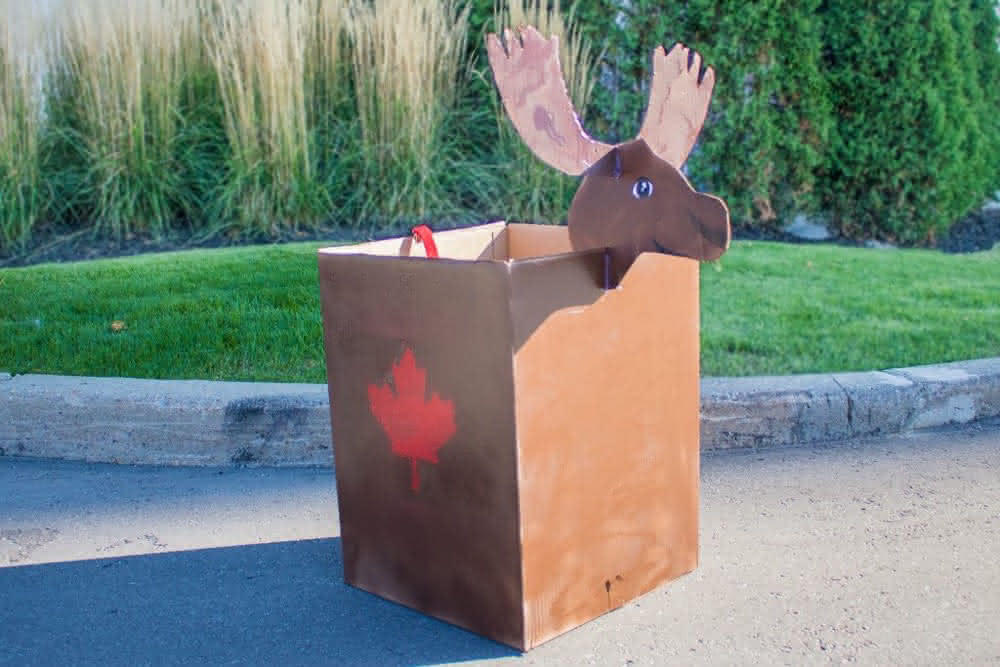
At TWO MEN AND A TRUCK®, we look forward to celebrating Halloween each year. In the past, we have shared design inspirations to create costumes with your leftover moving boxes. This year, we have taken it a step further and have created some “boxtume” tutorials, so that you can see how to create your very own “boxtume”! This is the first of two blogs in our Halloween “boxtume” series.
Canadian Moose
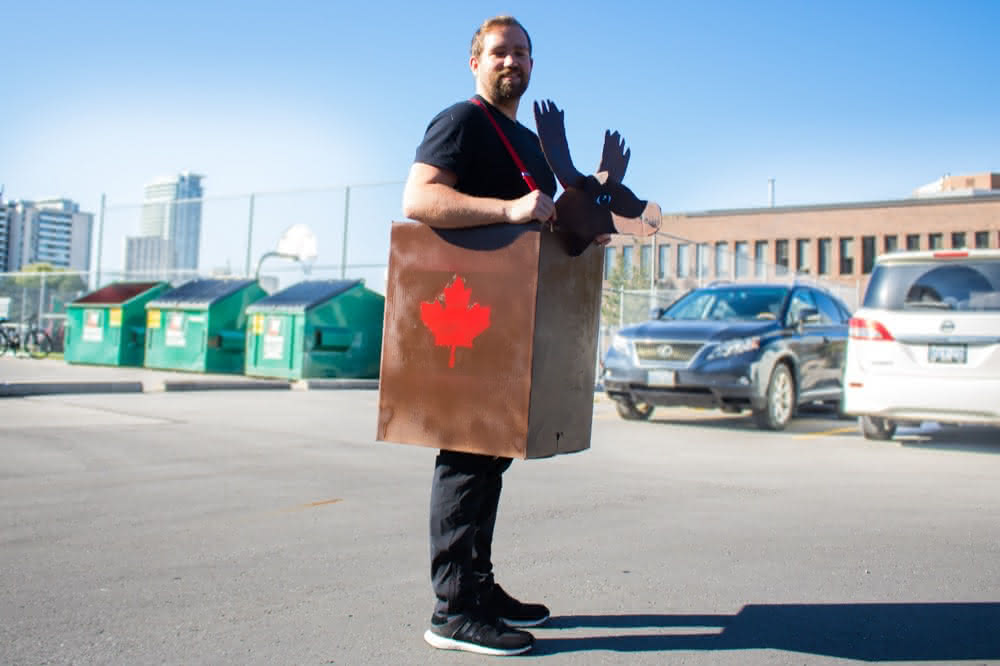
Are you looking for a costume that will be sure to stand out, and doesn’t cost a fortune? Honour Canada’s 150th birthday and create your very own Canadian moose. For this DIY project, we used a medium TWO MEN AND A TRUCK® box and some craft materials. You can use any box size for your “boxtume”, simply match the size to the person who’ll be wearing it.
Supplies:
- Scissors or a box cutter
- Red and brown spray paint. (Each can cost us $6)
- Hot glue gun and glue stick
- Ribbon or suspenders (We opted for the suspenders which cost us $9)
- Permanent marker
- Printer and paper
- Pencil or pen
- Packing tape
Step 1: Tape the tops and the bottoms of the box shut. Then draw a large circle on the top and bottom of the box. Cut out each of the circles with a box cutter, or a pair of strong scissors. Adjust for body size accordingly. Paint the body with brown spray paint, and let it dry.
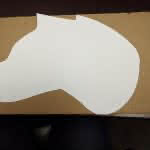
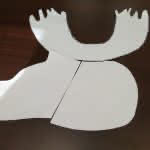
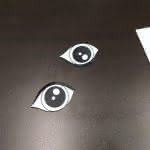
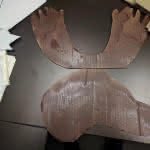
Step 2: Print out the stencil of the moose’s head. This will come in four parts and is available to download. Here are the links for the head, neck and eyes, and the top and bottom of the antlers. We’d like to credit TWO MEN AND A TRUCK® for the templates, as we adapted this design off of their “boxtume” unicorn.
Print out each of the designs and use your scissors to cut out each section. Print out two copies of each the bottom and top half of the antlers. Tape them all together. Tape the head and neck together as well. Trace the fully taped head and the antlers on spare pieces of cardboard. Cut out each traced in section.
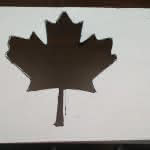
To make our moose extra Canadian, we painted on a red maple leaf. If you’d like to take this extra step, download the leaf and cut it out of the paper.
Step 3: Spray paint the head and antlers brown. Once the body of your box is dry, align and secure the stencilled leaf against the body. Then use red spray paint on the stencil, and let it dry. Once you think it’s dry, pull the paper stencil away.
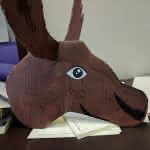
Step 4: Once the paint on the head has dried, draw on a mouth and a nose. At this stage, you can also use a glue stick to glue on the eyes.
Cut a slit in the middle of the antlers and the top-middle portion of the head. Then connect the antlers and head together.
Optional: To make sure that the cardboard pieces don’t move, we decided to use a hot glue gun to secure them into place. Glue in each of the slit sections, to secure the antlers and the head.
Step 5: Cut a slit in the middle of the body, and the neck. Then connect the body and neck together.
Optional: We also decided to use the glue gun on the slits in each of these sections to secure the head into place.
Step 6: Cut four small slits on the top of the box for the straps using a box cutter or scissors. Feed the ribbon through the top of the slit and create a knot underneath to fasten the ribbon. Complete this for all of the four slits and adjust ribbon length for the size of shoulders.
Optional: We purchased some suspenders so that the costume is easier to put on and take off of your body. Attach the two clips to the front, and one at the back. Adjust the clips based on the person’s height and shoulders.
Step 7: Step into your Canadian Moose!
TWO MEN AND A TRUCK® wishes you a fun and safe Halloween! If we’ve inspired you to make a “boxtume”, please share with us! Tag us on Facebook, Instagram, or Twitter.
[…] out our TWO MEN AND A TRUCK Halloween “Boxtume” ideas that include instructions on how to make a moose and a lego block […]