The holidays are the perfect time of year to get together with family and make crafts. It’s a great way to spend time with one another and re-kindle the holiday spirit.
Our inspiration for this year’s craft came from TWO MEN AND A TRUCK INTERNATIONAL’s ® recent blog post. They made some simple, affordable and creative crafts that the whole family can enjoy.
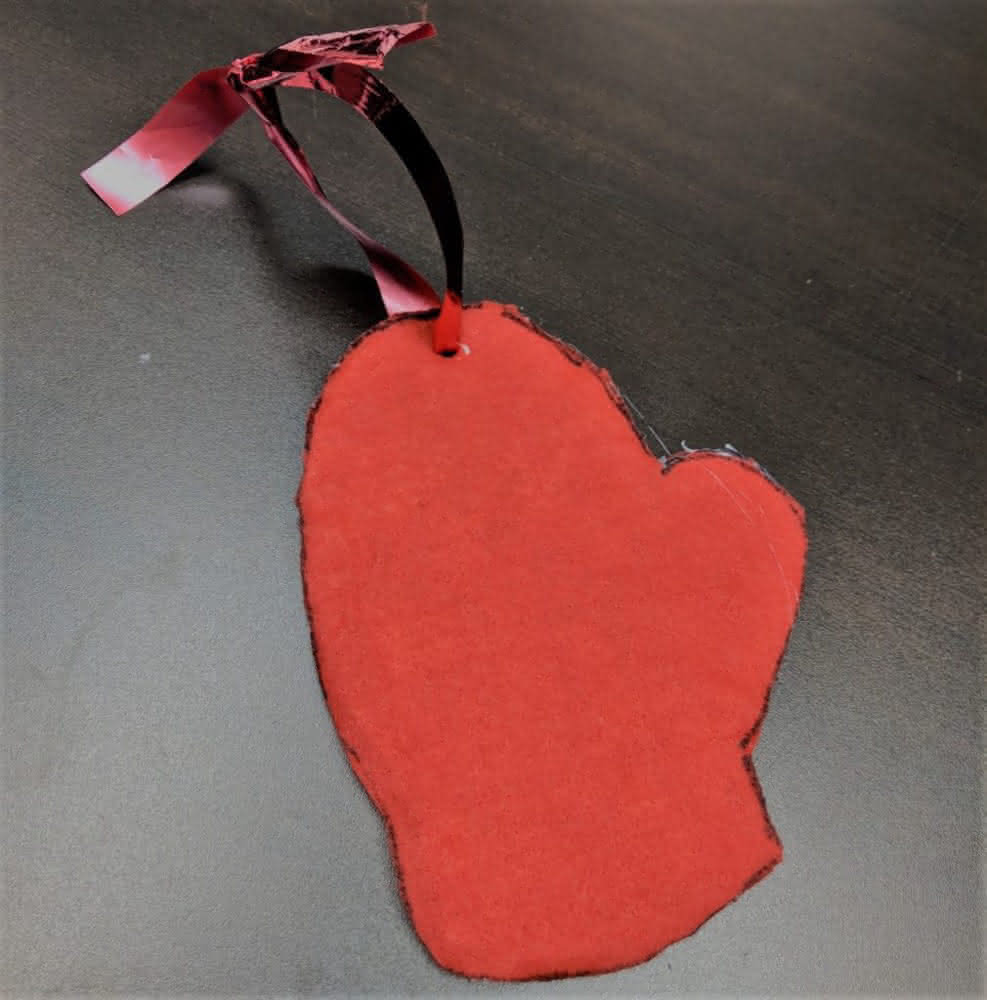
In the tutorial below we’ve made a red mitten that you can use as an ornament, or if you create a few of them, as a banner.
DIY Mitten
Supplies
- Glue gun
- Two pieces of felt
- A black marker
- Scissors
- A hole puncher
- A hot glue gun
- Optional: extra things to glue on (buttons, string, flowers, etc.)
- Cardboard
- Printer/paper
Step 1: Begin by printing out the following cut out. Cut out one of the paper mittens.
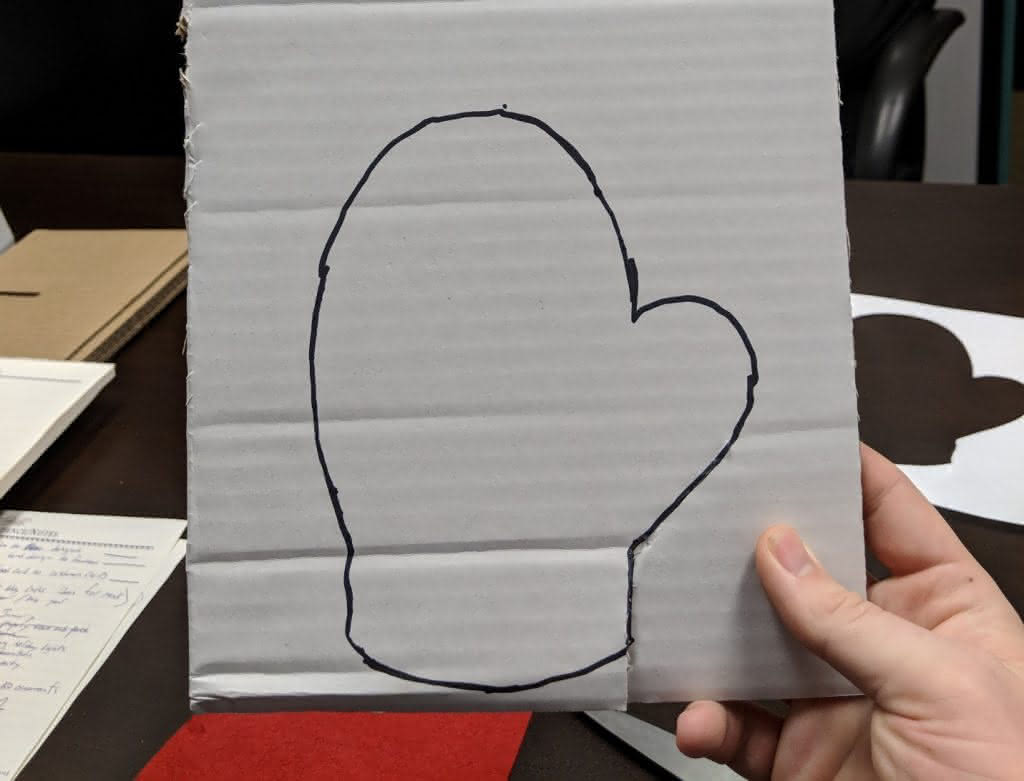
Step 2: Place the cut out mitten on top of a piece of cardboard. Trace an outline around the mitten.
Step 3: Once you’ve drawn the outline, cut out the cardboard with scissors or a box cutter.
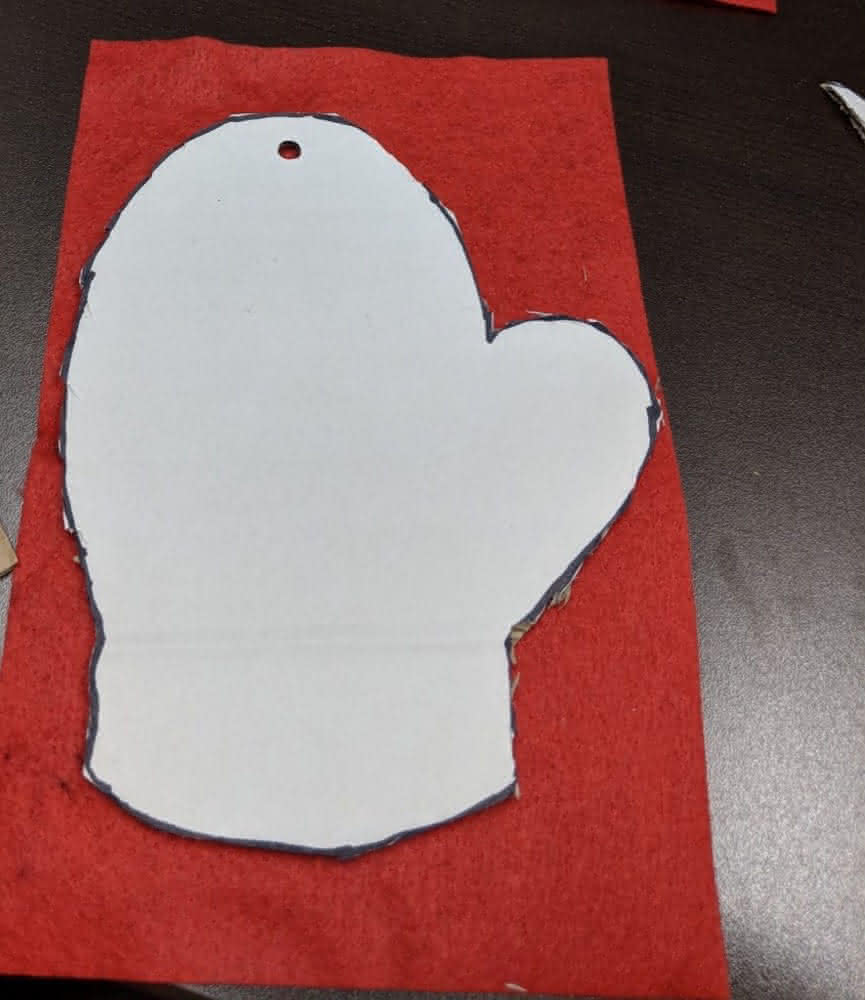
Step 4: Take the cardboard mitten to the felt and trace around the mitten. Do this for both pieces of felt. Once you’ve done that, cut out each piece of felt.
Step 5: Take your glue gun and draw the glue around the far edges of the cardboard mitten. Once the glue is on, add each piece of felt that you have just cut. Do one side at a time.
Step 6: After adding both pieces of felt, use your hole puncher and punch a hole in the very top of the mitten. Then take a ribbon, cut it, and make a knot. After that, you’re done!
Optional: We chose not to, but you can personalize your mitten with an assortment of options. Buttons, string and even cotton balls can make it more festive.
You can view every step on how to make this mitten in the video below. This is the TWO MEN AND A TRUCK INTERNATIONAL® version though, so be aware that in this video they’re making a banner, where we only made a single decoration.
If you have a craft that you would like to share with us, let us know in the comments or reach out to us on Twitter, Facebook, or Instagram.


