As December approaches, many of us are looking forward to cherished Holiday traditions. Some of us go carolling and others get cozy and watch Christmas movies. No matter what your holiday tradition is, we know that most of us love to have advent calendars. I mean, who doesn’t love opening up a gift every day leading up to Christmas?
With that in mind, the team at TWO MEN AND A TRUCK® wanted to show you how easy it is to make your very own advent calendar.
Supplies
- Two moving boxes
- Dividers for both boxes
- Wrapping paper
- Tape and packing tape
- Scissors
- Felt Marker
- Plenty of string
- Hole Puncher
- Bows
Step 1: Boxes
Begin by finding two small to medium sized boxes that are in good condition. If you don’t have any available, you can purchase boxes at any of our franchises.
Make sure to tape up one of the sides with packing tape so that it’s secure. On the other side, begin to cut off all of the edges of the box. Save these pieces for later.

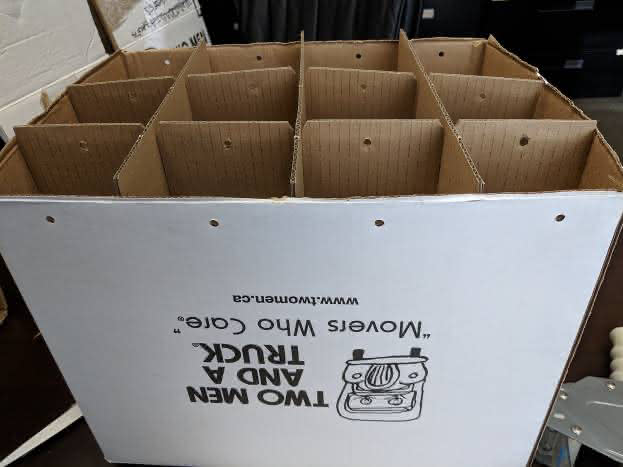
Step 2: Dividers
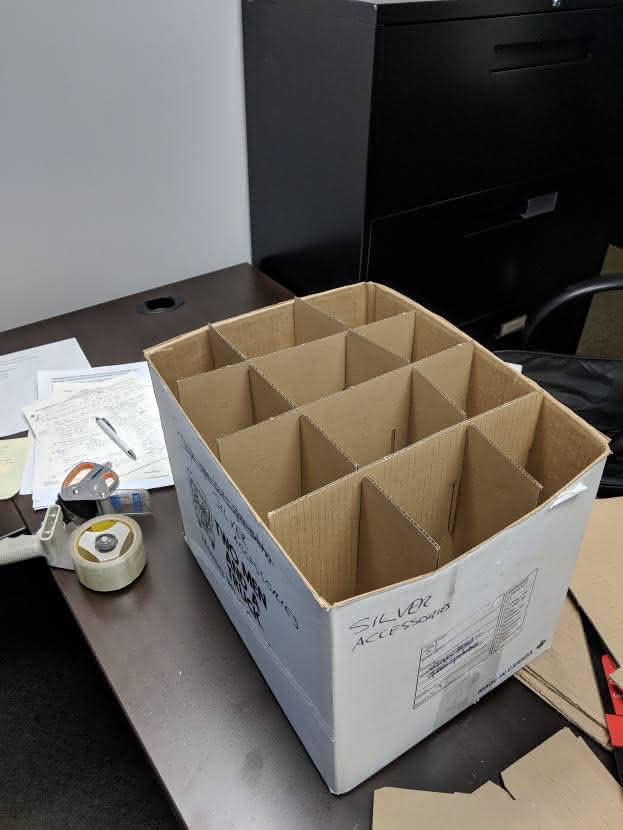
Take the dividers and place them in the box. Try to even out each of the dividers so that they’re all similar in size.
Step 3: Dates
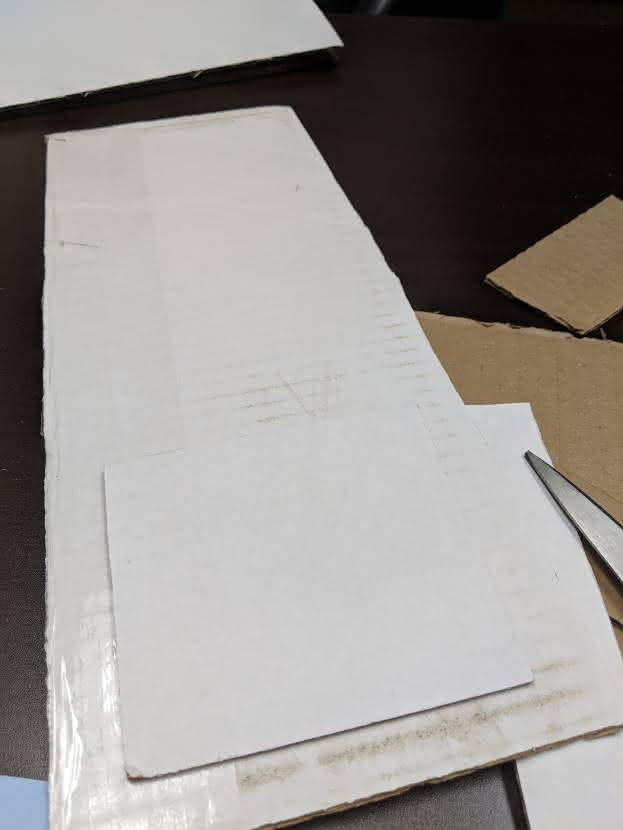
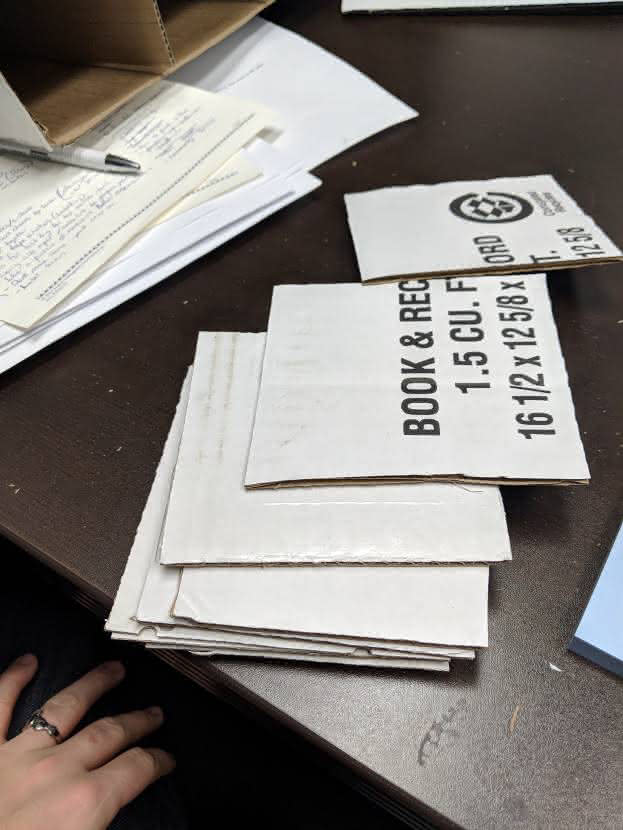
To make the dates grab the flaps and edges that you cut off earlier. Measure one of the flaps up to one of the square divider holes in your boxes. Trace a square and cut it out. Use that square as a guide and begin to cut out the other 23 squares. After you have cut out all of the squares write out a date on each of them.
Optional: Differentiate the dates by having 12 as one colour and 12 as another colour. This helps to keep a nice checkerboard effect.
Please note: you may need more flaps than what you cut off of the boxes, so try to have extra cardboard on hand just in case.

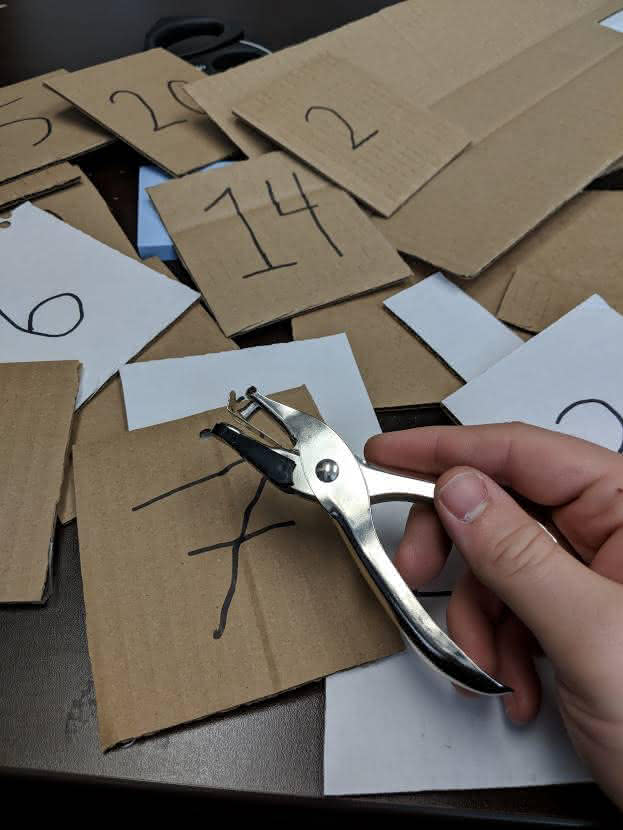
Step 4: Punch Holes
Take your hole puncher and begin to punch holes in the middle of each of the square dates. Once you’ve done that, punch holes on the top of the box, and on each of divider sections. See the photos below for reference.
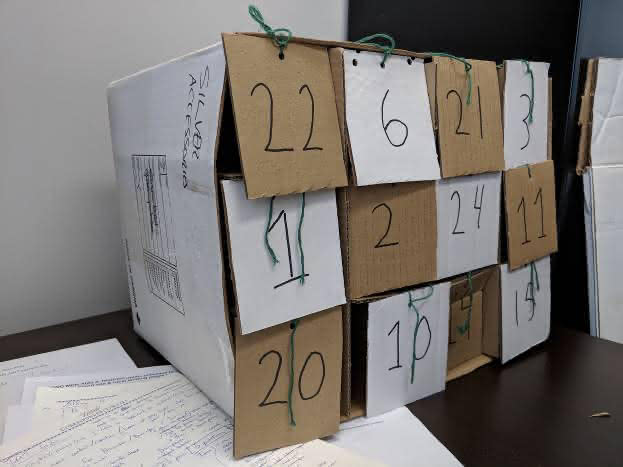
Step 5: Tying the dates into place
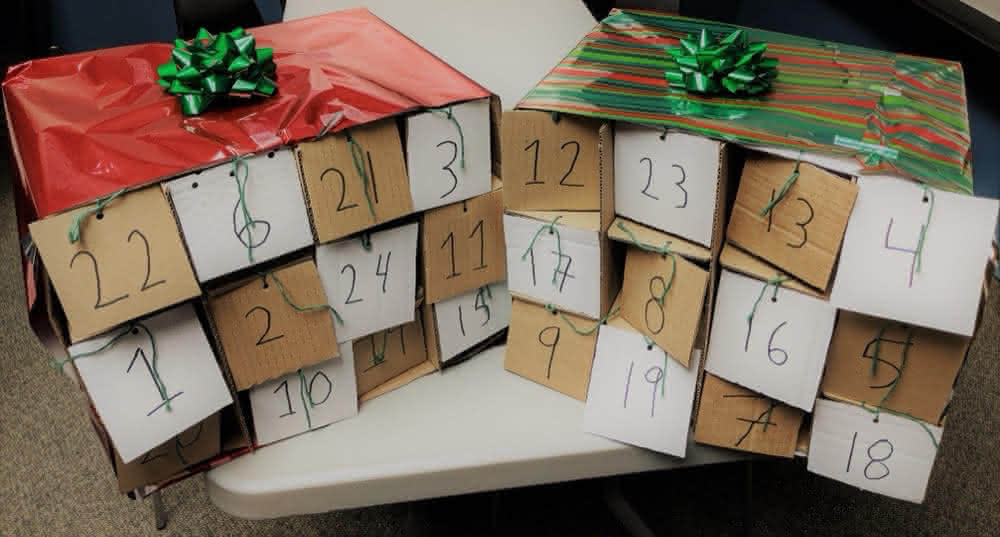
Begin by cutting out 10-15 cm of string for each of the dates. Run the string through the hole in the date and through the hole in the box. Tie a secure knot for each date, to make sure that it doesn’t move. We recommend randomizing the numbers to create the traditional advent calendar effect.
Step 6: Wrapping
Hide the fact that they’re boxes by wrapping them in Christmas wrapping paper. Make sure to be careful when wrapping them, as you will need to adjust the paper you use with the front of the calendar. After you have finished wrapping, you’re done!
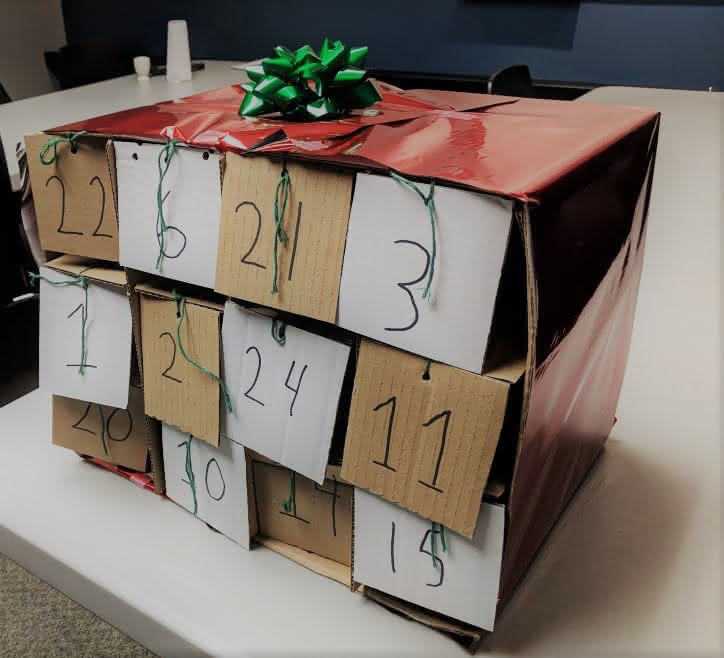
This calendar is a great gift for anyone on your Christmas list. You can put wine bottles, candy, or even toys in the calendar.
If you have a craft that you would like to share with us, let us know in the comments or reach out to us on Twitter, Facebook, or Instagram.