With many of us now working and spending our time at home, it can be difficult to come up with new and fun activities to keep us entertained. To help out, we thought we’d offer a few ideas for entertainment that can keep all ages occupied.
Here are a few fun and easy DIY craft ideas we’ve come up with over the years that can be made from recycled materials you already have at home. We’ve compiled them all into one playlist, so go through and find the one that looks best to you!
Below are some of our favorites:
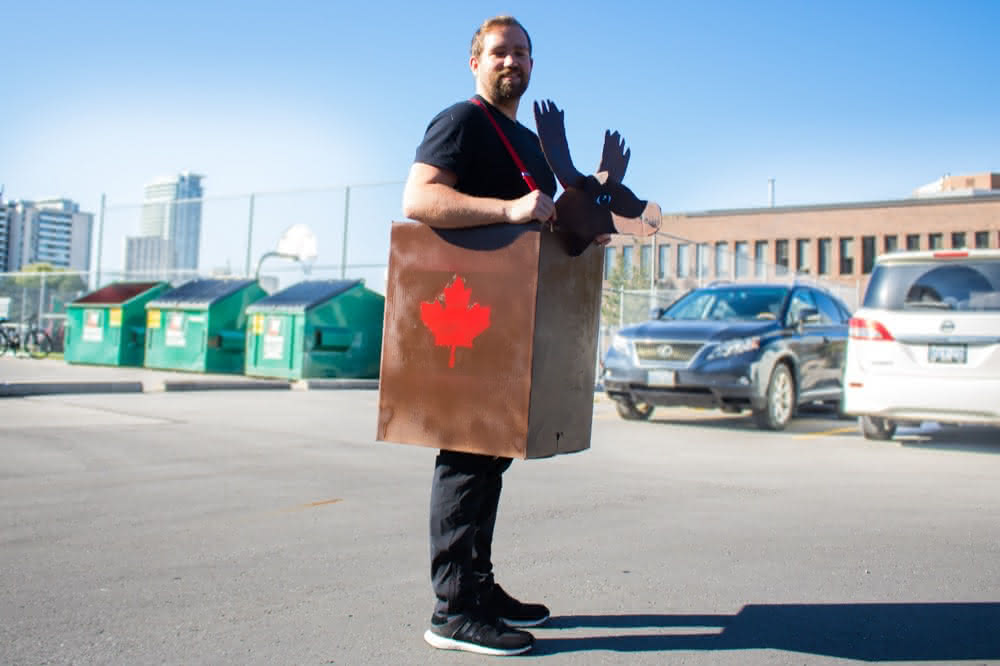
Canadian Moose
Supplies:
- Scissors or a box cutter
- Red and brown spray paint. (Each can cost us $6)
- Hot glue gun and glue stick
- Ribbon or suspenders (We opted for the suspenders which cost us $9)
- Permanent marker
- Printer and paper
- Pencil or pen
- Packing tape
Step 1: Tape the tops and the bottoms of the box shut. Then draw a large circle on the top and bottom of the box. Cut out each of the circles with a box cutter, or a pair of strong scissors. Adjust for body size accordingly. Paint the body with brown spray paint, and let it dry.
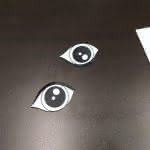
Step 2: Print out the stencil of the moose’s head. This will come in four parts and is available to download. Here are the links for the head, neck and eyes, and the top and bottom of the antlers. We’d like to credit TWO MEN AND A TRUCK® for the templates, as we adapted this design off of their “boxtume” unicorn.
Print out each of the designs and use your scissors to cut out each section. Print out two copies of each the bottom and top half of the antlers. Tape them all together. Tape the head and neck together as well. Trace the fully taped head and the antlers on spare pieces of cardboard. Cut out each traced in section.
To make our moose extra Canadian, we painted on a red maple leaf. If you’d like to take this extra step, download the leaf and cut it out of the paper.
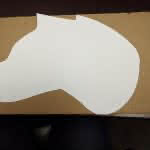
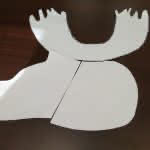
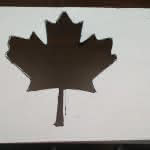
Step 3: Spray paint the head and antlers brown. Once the body of your box is dry, align and secure the stencilled leaf against the body. Then use red spray paint on the stencil, and let it dry. Once you think it’s dry, pull the paper stencil away.
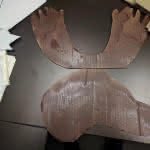
Step 4: Once the paint on the head has dried, draw on a mouth and a nose. At this stage, you can also use a glue stick to glue on the eyes.
Cut a slit in the middle of the antlers and the top-middle portion of the head. Then connect the antlers and head together.
Optional: To make sure that the cardboard pieces don’t move, we decided to use a hot glue gun to secure them into place. Glue in each of the slit sections, to secure the antlers and the head.
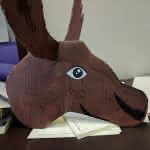
Step 5: Cut a slit in the middle of the body, and the neck. Then connect the body and neck together.
Optional: We also decided to use the glue gun on the slits in each of these sections to secure the head into place.
Step 6: Cut four small slits on the top of the box for the straps using a box cutter or scissors. Feed the ribbon through the top of the slit and create a knot underneath to fasten the ribbon. Complete this for all of the four slits and adjust ribbon length for the size of shoulders.
Optional: We purchased some suspenders so that the costume is easier to put on and take off of your body. Attach the two clips to the front, and one at the back. Adjust the clips based on the person’s height and shoulders.
Step 7: Step into your Canadian Moose!
Lightning McQueen
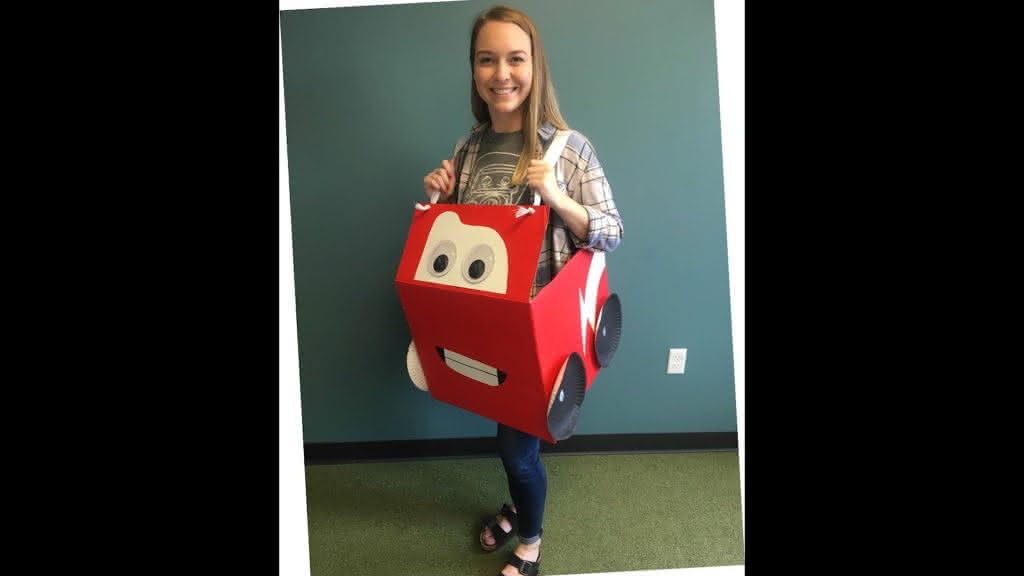
Does your child like to play with cars & trucks? Are they awestruck when they see a big vehicle go by? This Lightning McQueen costume may be perfect for them. All you’ll need for this “boxtume” is a box, red paint, hot glue, scissors, box cutter, ribbon, paper plates, poster board, black marker, and googly eyes.
See how you can make this costume step by step, here.
Tractor

Is your child fascinated with all kinds of trucks, planes, and tractors? Make their dreams a reality by giving one them of their very own! Watch our tutorial video or follow these seven easy steps below to make it yourself.


Step 1: Tape top and bottom of box shut. Trace a rectangular hole with a pencil on the top and bottom of the box and cut out the hole with a box cutter. Adjust for body size accordingly. Paint the body with green spray paint and let dry.


Step 2: Trace out two large paper plates onto a piece of cardboard. Trace out two small paper plates onto a piece of cardboard, and cut out the four circles using a box cutter. Spray these circles with black spray paint.


Step 3: Cut a paper cup so it’s only about two inches tall and cut slits around the edge. Spray paint it silver using spray paint.


Step 4: Cut out a triangle with rounded edges on orange paper. Glue this onto the back of the tractor. Cut out yellow circles for the wheels. Glue them onto the center of the wheels.


Step 5: Cut out black strips of paper for the front grill. Cut out a yellow strip to line the entire box. Glue these on the box. Glue the lights on the front of the box and fill with yellow paper. Spray paint a toilet paper roll black and glue onto the top of the box.


Step 6: Glue or tape on the wheels on to the box. Then create small slits on the top of the top and in the back for the straps. Feed the strap through the holes and tie a knot underneath.

Step 7: Throw on some overalls and step into your new tractor!
